Showing posts with label main dish. Show all posts

Monday, August 1, 2011

Baked Parmesan Tilapia

{We recently inherited some cheeses from my mother's latest Costco trip. We used some in our Baked Ziti Recipe (soon to come) and made it for a few of our neighbors who were in need of a frozen dinner option. But we still have a few... pounds of Parmesan and Mozzarella left. So I'm currently in the market for a few recipes to try that use said cheeses. I stumbled across this little beauty via Pinterest and Bryce has told me that it can go into the "Family Favorite Recipes" list. It was really good and very fast and easy. 


Easy Baked Parmesan Tilapia
makes 4 tilapia fillets
{ingredients}
4 tilapia fillets {we found a box of 26 frozen fillets at WalMart for a pretty good price so we just use frozen.}
3 tablespoons butter, at room temperature
1/4 cup grated/shredded parmesan cheese
1 garlic clove, minced
1/4 teaspoon thyme
salt and pepper to taste
lemon slices for serving

{directions}
Preheat oven to 400 degrees.
Pat tilapia dry (if frozen, it should be thawed first) with a paper towel and season with salt and pepper. Lay on a baking sheet sprayed with non-stick spray and bake for 10-12 minutes. While fish is baking, mix butter with garlic, thyme and parmesan cheese.
Remove fish from oven and gently flip. Spread about 1/2 tablespoon 1 Tablespoon of butter mixture on the fish {and I added a little extra cheese because I didn't feel like it covered the fish very well... and I had a little extra...}, and heat the broiler in your oven. Set fish under the broiler for about 2-3 minutes, or until cheese gets golden and bubbly.
Serve with lemon.


P.S. I'm still looking for some good recipes with Parmesan cheese... so if you have any suggestions, please... do tell! 

Thursday, July 21, 2011

Shrimp with Cauliflower Puree

This one also came out of a Cooking Light magazine. It looked so good I had to try it... again, I've adapted it to my taste and my budget so the end product came out nothing like the original recipe... I'll say that it "inspired" me to creating this recipe... :) Its light, colorful, and wonderful.

Seared Scallops Shrimp with Cauliflower Puree


{ingredients}
2 c. chopped cauliflower florets
1 c. cubed, peeled Yukon gold potato {I didn't have Yukon, we went with Russet... worked fine.}
1 c. water
1/2 c. chicken broth
1 T. canola oil
1 1/2 lbs sea scallops shrimp
3/4 tsp. salt- divided
1/2 tsp. black pepper
1 1/2 T unsalted butter
1/8 tsp. crushed red pepper

{directions}
1. Bring cauliflower, potato, water, and chicken broth to a boil in a saucepan; cover, reduce heat, and simmer 6 minutes or until potato is tender. Remove from heat. Let stand, uncovered 10 minutes
2. Heat a large skillet over high heat. Add oil; swirl to coat. Pat scallops dry with paper towels; sprinkle with 1/4 tsp. salt and black pepper. Add scallops to pan. Cook 3 minutes on each side or until desired degree of doneness. Remove scallops from pan. {scallops are pricey and as of right now our budget will only allow for them extremely discounted. one day I will try this recipe with scallops... but for now, shrimp works marvelously...}
3. Pour cauliflower mixture in a blender. Add 1/2 tsp. salt, butter and red pepper. Remove center piece of blender lid (to allow steam to escape); secure lid on blender. Place a clean towel over opening in lid (to avoid splatters). Blend until smooth. Serve puree with scallops.

Bonus recipe:
{this came with it and it adds so much to this dish, I wouldn't make this dish without this part... and I've made it twice)

Tarragon, Carrots, and Peas:
Place 1 cup sugar snap peas and 1/3 cup water in a saucepan. Bring to a boil; cover and cook for 2 minutes. Add 1 cup matchstick-cut carrot and 1 1/2 tsp. butter; cover and cook 2 minutes. Stir in 1 tsp chopped tarragon, 1 1/2 tsp cider vinegar, and 1/8 tsp salt.

*disclaimer... I didn't have tarragon... and didn't use vinegar... but it added crunch and flavor to the dinner above.

Creamy Shrimp and Rice

If you haven't  tried the new Philadelphia Cooking Creme, you should. Its pretty awesome! I got this recipe from the ideas on the package... And it is delish.


{ingredients}
2 tsp. Olive Oil
1/2 c. red peppers- chopped
1/2 c. onions- chopped
1 pkg. (6 oz.) sugar snap peas- halved
1 lb. frozen, cooked, cleaned, medium shrimp- thawed and drained {and you'll want to pat them dry with a paper towel)
1/4 tsp. black pepper
1/4 c. milk
1 tub (10 oz.) PHILADELPHIA Savory Garlic Cooking Creme
2 c. hot cooked rice

{directions}
1. Heat oil in large skillet on med-high heat. Add peppers and onions; cook and stir 4-5 minutes or until crisp-tender. Stir in peas, cook 3-4 minutes or until heated through, stirring frequently.
2. Add shrimp, black pepper, and milk; cook and stir 3 minutes or until heated through. Add cooking creme; cook and stir 2 minutes.
3. Serve over rice.

**Here's a card for you!

Peach Porkchops

My Brother-in-law and his wife gave me a year subscription to Cooking Light magazine for Christmas. I have been enjoying the ideas and recipes I find in each issue and have used some of them as my new recipes toward my goal of trying at least 3 new recipes a month. This one was kinda made up... but it turned out rather well. My hubby even said it could go into the family recipes list... :)
This isn't couscous... its little pasta...

Skillet Pork Chop Saute with Peaches
from Cooking Light; adapted by Jessica :)


{ingredients}
2 tsp Olive Oil
4 boneless pork loin chops- trimmed
1/2 tsp. salt
1/2 tsp. black pepper
2 T. thinly sliced shallots
2 tsp. thyme
2 peaches- each cut into 8 wedges
1/2 c. dry white wine
1/2 c. chicken broth
2 tsp. honey
2 tsp. butter

{directions}
1. Heat a large skillet over medium-high heat. Add oil to pan; swirl to coat.
2. Sprinkle chops evenly with salt and pepper.
3. Add chops to pan; cook for 3 minutes on each side or until done. {I learned, it really is only 3 minutes, even if they're still a little pink. if they aren't pink, they're too done. Who Knew?!)
4. Remove chops from pan and keep warm.
5. Add shallots, thyme, and peaches to pan; cook for 2 minutes.
6. Stir in wine, scraping pan to loosen browned bits; bring to a boil. Cook until reduced to 1/3 cup (about 2 minutes). 
7. Stir in broth and honey; bring to a boil. Cook until reduced to 1/3 cup (about 2 minutes). Remove from heat; stir in butter. Spoon sauce over chops.

*These are great served with couscous.*

So, a little disclaimer... I am a novice cook and wine is a little tricky for me. The first time I made these I tried to substitute a tiny bit of water... they were ok, but a little... watery. The second time I tried them (yes I've made them twice now) I just omitted the whole step. They were better but there wasn't much sauce. If anyone has any tips for a good substitute for wine that doesn't require... alcohol... that would be great!

Chicken Cashew lettuce wraps

It has recently been brought to my attention that it has been a while since I have posted any recipes... or anything for that matter... I have been cooking... just busy enough to keep from posting. prepare yourself for a BUNCH of recipes. I am still going strong on my resolution to try 3 new recipes each month. So I've been having fun. Here goes!!!

These are possibly my new favorite recipe. They are soooo good! :) I came across this recipe through GTU. They had a link that took me to tastykitchen.com... but somehow its closed to the public now... anyway I couldn't find it again. So here it is. :) P.S. Sorry no picture yet... I forgot to take one. Guess I'll have to make them again...


{ingredients}
1 Tbs Rice Vinegar
1 Tbs Brown Sugar
1/4 tsp ground Red Pepper
1/4 tsp ground Ginger
1 tsp Sesame Oil
2- 1/3 Tbs Soy Sauce (divided)
3 Tbs Canola Oil (or oil of choice)
2 pieces of Chicken Breast- diced
1 c. diced Onion
2 cloves Garlic-minced
1/4 c. Cashews- chopped
8 leaves of Green-leaf or Iceberg Lettuce- washed and dried

{directions}
For stir fry sauce: Mix together rice vinegar, brown sugar, red pepper, ginger, sesame oil, and 2 T. of sou sauce, making sure to dissolve the brown sugar. Set aside.

Heat canola oil in pan over medium heat to med-high heat. Add chicken and brown (about 4-5 min). Remove chicken from oil. Add onions and garlic to pan and remaining soy sauce (1 tsp) to pan; brown. When onions and garlic are brown and tender, add stir fry sauce, browned chicken, and cashews. Saute mixture for a few minutes and remove from heat.

Spoon chicken mixture into individual lettuce leaves. Add your favorite hot sauce, more cashews or basil. Enjoy!

**Here's a card for you!


Wednesday, June 23, 2010

Toasted Orzo and Peas

{ah the classic story of a new recipe turned family favorite. This is one experiment that had the best turn out a recipe could hope for. Easy to cook, dish after-math is low, tasty, and relatively healthy! (ok so maybe not totally healthy, but its close!) My husband actually requested we put it on the "family favorite list"}


{ingredients}
2 Tbsp. butter
1 small onion, minced
3/4 tsp salt
2 medium garlic cloves, minced
1 1/4 c. orzo
2 1/2 c. chicken broth
1 c. frozen peas
1 oz Parmesan cheese-grated {about 1 c.)
2 Tbsp. fresh minced parsley leaves {I didn't really measure... but it all worked out}
ground black pepper
1 lemon, cut into wedges- for serving {optional}

{directions}
Melt the butter in a 12 inch nonstick skillet over medium heat.
Add onion and salt and cook, stirring often, until softened {5-7 minutes}
Stir in garlic and cook until fragrant {about 30 seconds}
Stir in orzo and cook, stirring often, until most of the grains are golden {i didn't believe it, but about 5 minutes... its longer than you might think}
Carefully stir in the broth and bring to a boil, then reduce the heat to medium- low and simmer, stirring occasionally until all of the liquid has been absorbed and the orzo is tender {about 10-12 minutes}. {Be careful not to cook at too high of heat at this point because the liquid will evaporate and the orzo will not cook...}

Off the heat, stir in the peas, Parmesan, and parsley and let sit until the peas are warmed through {about 2 minutes}.
Season with salt and pepper {or if you're my husband, Tony's} to taste and serve with the lemon wedges. {seriously, the lemon makes all the difference!}

{we were thinking this recipe would be great with any veggie you wanted and however many you might want. The orzo is very forgiving and is fairly versatile.... }

Enjoy!

Friday, June 11, 2010

Southwest Egg Rolls


This is one of my favorite new recipes. I could eat the avocado dip for breakfast, lunch and dinner. (maybe with a chip or two) I couldn't find the pictures I took the first time I made these so my son encouraged me to make them again because he was sure I needed pictures. This is also one of his favorite recipes. These are not really an eggroll, but you roll them up like one, and you bake them instead of deep frying. I understand that Chilis serves a version of these for an appetizer.

1 pkg. flour tortillas (the ones that aren't cooked)
Cook the tortillas in a skillet, just brown on each side. Don't use oil. Set aside.

4 chicken breasts cooked or 1 rotisserie chicken
1-2 T oil
1 bunch green onions, chopped
1 c. frozen corn
1 can black beans, drained and rinsed
1 pkg. baby spinach
1-2 T. diced, canned jalapeno peppers
1-2 T. chopped minced parsley
2 tsp. cumin
2 tsp. chili powder
1 tsp. salt
dash cayenne pepper
2-3 c. shredded Mexican cheese

Shred the cooked chicken into bite size pieces. Add oil to skillet. Saute red pepper, green onions and spinach just until spinach cooks down a little. Add corn, black beans, jalapenos, parsley and seasonings. Stir until mixed. (Don't cook it) Add cheese, stir briefly, and remove from heat. Add about 1/4 c. of filling per tortilla.

Fold ends in first then roll up tightly. This is how I folded mine


Bake at 400 for 15-20 minutes. If you use a stone they will be really crispy, but a cookie sheet works just fine.


Serve with Avocado-Ranch Dipping Sauce (recipe below)

Avocado-Ranch Dipping Sauce

1-2 avocados, smashed
1/2-1 c. mayonnaise, light works fine
1/2-1 c. sour cream, light works fine
1-4 T. buttermilk
1 T. vinegar
1/4 tsp. salt
1/4 tsp. dried parsley
1/4 tsp. onion powder
1/8 tsp. dried dill weed
1/8 tsp. garlic powder
1/8 tsp. black pepper

Mix altogether.


Friday, May 28, 2010

Fiesta Time: Southwestern Beef

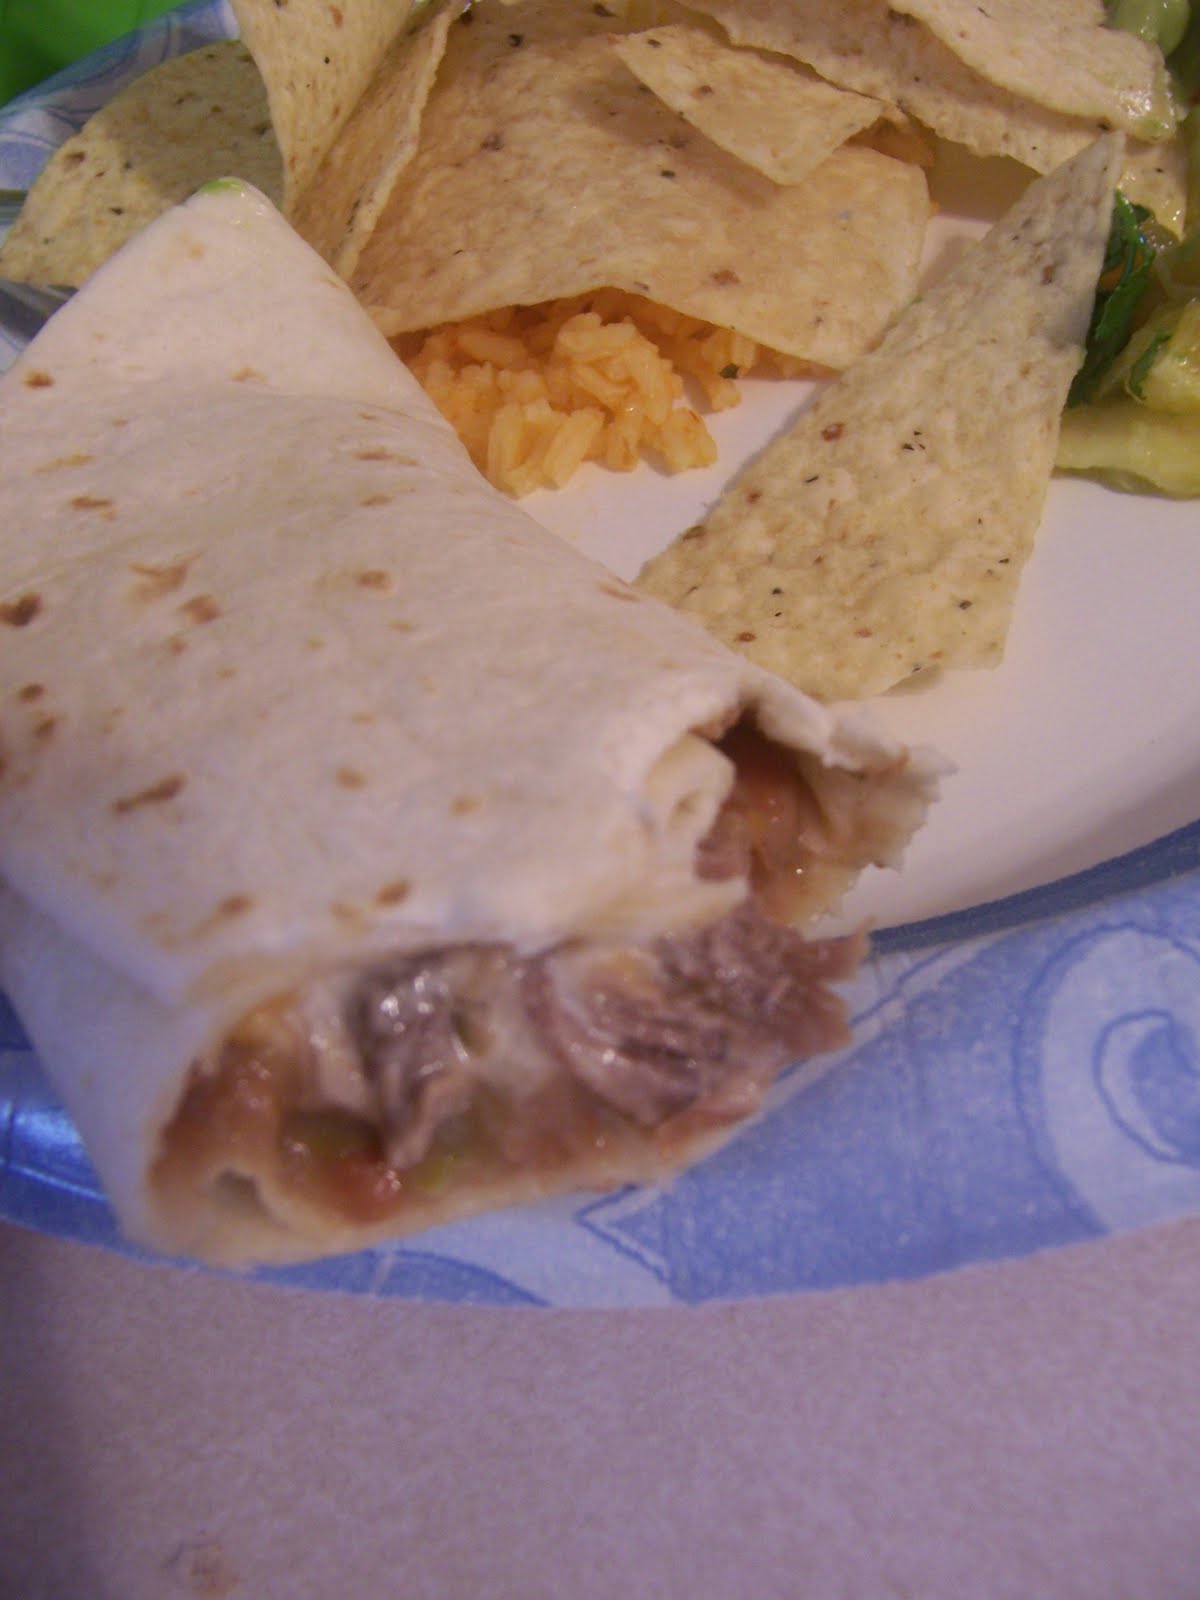
Originally we were only going to have Pork Carnitas for our main dish. (a recipe we got from a class we took at Thanksgiving point). It was finally decided we should do some shredded beef also. It was a good thing since this was the only meat ready when we started. (the other recipe took a lot longer than anticipated) This is an easy crockpot recipe. The meat shreds easily and tastes great. This meat could be used for Tacos, burritos, tostadas, enchiladas etc.

Southwestern Beef

1 onion, chopped
2 1/2 lb. or so beef roast
1 heaping tsp. chili powder
1 heaping tsp. garlic powder
1 heaping tsp. cumin
1 heaping tsp. Kosher salt
2 bell peppers (you can use 2 green bell peppers or mix it up a little with red, yellow, or orange; just make sure one is green.), chopped I used FFT #3
1 14 1/2 oz. can Mexican-style diced tomatoes OR 1 can of Rotel tomatoes (regular or mild, depending on your preference)
Small flour tortillas
Desired toppings: salsa, guacamole, sour cream, shredded cheese, chopped cilantro, etc.

Place chopped onion in the bottom of the slow cooker.
Combine seasonings in a small bowl and then rub seasoning mixture all over the roast. Place roast over onions, top with chopped peppers, and then pour the canned tomatoes on top of everything. Cook on high for 5-6 hours or low for 8-9 hours then shred the meat with two forks. There was a lot of liquid when I went to shred the beef so I took the liquid out. (I had used a crock pot liner) I shredded the beef and put it back in the crock pot and then added just enough liquid to keep it moist so it wouldn't dry out.

Then serve with desired toppings!


Monday, March 8, 2010

DIY Shepherd's pie

{Tonight my adorable husband decided to take dinner matters into his own hands. He knows I have a lot of tests this week and there is a lot of stress at my end to accomplish everything. So he told me that he would make dinner tonight. It always makes me a little nervous as he claims he is a "creative chef" meaning that he doesn't measure and anything he finds in the cupboards or the fridge is free game. But it usually comes out alright and I am so busy this week... Thus I have taken this much needed break to let you all into a night here at home...

After looking through the kitchen to see what was available to him, he poked his head into the living room where I was studying and told me that he was going to make shepherd's pie. I told him that sounded just fine. He banged around the kitchen for a while then called me in for dinner...

I admit my idea of "Shepherd's pie" was along these lines...

{Green Bean Casserole} {A classic favorite growing up in our house... and super easy to make}

{ingredients}
1 lb. hamburger
1 can cream of mushroom soup
1 can French cut green beans- drained
mashed potatoes {you can mix up the potato flakes if you want.}
grated cheese

{directions}
1. Brown hamburger and drain.
2. In a casserole dish, combine the cooked hamburger, soup, and green beans. Spread mashed potatoes on top covering the whole casserole.
3. Bake at 350 degrees for 30 minutes. Sprinkle some grated cheese on top and return to the oven until the cheese is melted.


{this was not however the recipe my husband used. I include it and his secrets below...who knew it could get even easier!}

{Hubby's Shepherd's Pie}

{ingredients}
1 lb. hamburger
1 can French cut green beans
1 can corn
grated cheese
mashed potatoes

{directions}
1. brown hamburger
2. make up potatoes from the flakes
3. open cans of veggies and pull the bag of cheese out of the fridge.
4. call in your wife for dinner and have her put it together and zap it in the microwave to warm the veggies and melt the cheese.


{when I say DIY I mean it literally. He explained that he wasn't sure how much to put into it and didn't want it to be too hamburger-y. I began to laugh. He smiled at my next question which was (of course) "Can I take a picture and can I post it on the blog?" He smiled and gave his consent. So whether or not you are into the whole "complete construction" of the meal, you now have two ideas on how to go about this wonderfully easy (and now even easier) meal.}

{Yes, its a little out-there, but its the thought that really counts and I am so grateful that my husband would think about my well being enough to perform a little act of service in my behalf. Thanks sweetheart for all you do for me.}

Tuesday, March 2, 2010

Valentines Delight! (Buca di Beppo at Home)

{so I know that I am super late in posting these but it is so delicious that I can't not post the secrets! Dinner was greatly inspired by a favorite family Italian restaurant: Buca di Bepo. In fact some of the recipes are from their kitchen! Dad and my husband were in charge of the main dish, my brother worked hard on the bread sticks, and my mom and I took on the dessert. It turned out to be a regular "Buca" experience at home! }

{Bucca di Bepo meatballs}

{ingredients}
2 1/2 lbs ground beef
1/2 c. Romano cheese- grated
3/4 c. dry Italian seasoned breadcrumbs
4 large eggs
2 tsp. salt
1/4 c. fresh garlic- chopped {my darling husband followed the recipe to exact measurements and we decided that this is a lot of garlic. I would only put in 2 or 3 cloves if you don't want to taste garlic for the next few days.}

-->
{directions}
1. In a large bowl mix all ingredients together.
2. Shape into meatballs the size of a golf ball - makes about 40 meatballs {seriously...}
3. set aside and let rest for 1 hour. {we didn't do this and they turned out alright... we just didn't have the time...}
4. Cook the meatballs in the meatball sauce {see note below}
5. Simmer for about 45 minutes.

{Meatball sauce} *to come later* {we decided that the sauce was way too greasy from the meatballs cooking in it... so we have discussed some alternatives... you can cook them in a different sauce and then add it, or you can bake them. That recipe will come later as well but you can click here when we find it...}

{Buttery Breadsticks}{this recipe is super easy and can easily be altered for personal preference}

{ingredients}
24 Rhodes Dinner Rolls- thawed but still cold
1/2 c. butter or margarine- melted
1/2 c. Parmesan cheese (the kind in the jar)
garlic salt- to taste

{directions}
1. Pour melted butter on a 11 x 17 baking sheet
2. Roll each roll to about 6" and then roll in butter until completely coated.
3. Place cheese in seperate bowl and roll buttered breadstick in cheese.

{we actually just sprayed the pan with nonstick spray and brushed some melted butter top and then sprinkled on the cheese, garlic salt and dried parsley}

4. Place breadsticks on baking sheet in 2 rows of twelve each.
5. Sprinkle with garlic salt if desired
6. Cover with plastic wrap. Let rise until double in size.
7. Remove wrap and bake at 350 degrees for 20 minutes.

{dessert: Chocolate Berry Trifle} {this is a fun and very easy delicious dessert to make. and if you do it right, beautifully gorgeous!}

*the whipped topping deflated a little but you get the idea


{Chocolate Berry Trifle} {these were absolutely delectable. The raspberry/chocolate combination provides a sweet desert with a little punch of tartness. Even my brother who was full decided to have one after a bite of mine.}

{ingredients}
3 c. cold milk
2 small packages instant chocolate pudding mix
8 oz cool whip- thawed
1 baked 9 x 13 brownie layer- cut into 1" cubes {see recipe I used below, but I'm sure a boxed brownie mix will work just as well}
2 cups fresh or frozen unsweetened raspberries

{directions}
1. Pour milk into large bowl. Add pudding mixes. Beat with a wire whisk for 2 minutes.
2. Gently stir in 1 c. whipped topping.
3. Place half of the brownie cubes in a 2 qt. serving bowl or trifle dish. {for this celebration we chose to use our goblet as personal trifle dishes and layered accordingly. Just make sure your serving dish is clear so you can see the layers, its part of the fun!}
4. Top with half of the pudding mixture, half of the raspberries, and 1 c. whipped topping. {my layers went as follows: brownie, pudding mix, a spoonful of raspberries, smigeon of whipped topping to act as glue for the next layer of brownies. repeat.}
5. Repeat layers.
6. Refrigerate 1 hr. or until serving {its better to wait to top it with whipped topping until you are about to serve. Ours kinda melted into the rest of it... not quite as pretty. We also topped ours with a little chocolate heart to add a little valentine flair!}

Makes about 12 servings

{Brownie} {i got this recipe from allrecipes.com . it says they always turn out, and they are truly tasty!}

{ingredients}
1/2 c. butter
1 c. white sugar
2 eggs
1 tsp. vanilla extract
1/3 c. flour
1/4 tsp. salt
1/4 tsp. baking powder

{directions}
  1. Preheat oven to 350 F
  2. Grease and flour an 8 inch square pan. {i wanted thinner brownies so i doubled the recipe and used a 9x13 pan. i also used the Baking PAM that has flour in it already.}
  3. In a large saucepan, melt butter. Remove from heat, and stir in sugar, eggs, and vanilla.
  4. Beat in cocoa, flour, salt, and baking powder. Spread batter into prepared pan.
  5. Bake in preheated oven for 25 to 30 minutes. Do not overcook.

{frosting} {for this dessert i did not make the frosting}
3 Tbsp. butter-softened
3 Tbsp. unsweetened cocoa powder
1 Tbsp. honey
1 tsp. vanilla extract
1 c. sugar

1. To Make Frosting: Combine 3 tablespoons butter, 3 tablespoons cocoa, 1 tablespoon honey, 1 teaspoon vanilla, and 1 cup confectioners' sugar. Frost brownies while they are still warm.

{chocolate hearts- directions}
1. melt some chocolate and put it into a bag {ziploc works just fine- just cut the tip of the corner off for a makeshift designer bag.}
2. Squeeze melted chocolate into any design onto a piece of parchment paper and let cool.
3. Place on a dessert to add a little fancy flair...

--> yes... the picture is upside down...

*Mmmm...


Friday, February 26, 2010

Valentine's Day sneak peak!

{for a special treat I will share the delicious delectables we consumed for our romantic day. Prepare yourself, words cannot accurately describe it... pictures come close, but you'll have to make it to fully appreciate it.}

*what a "love"ly table...


*the meal that awaits to be eaten

Tuesday, February 23, 2010

BBQ Ranch Sandwiches


This recipe was presented by the director of the cooking classes I attend. My husband and son really liked this recipe. At least 3 times while we were eating, my husband said, "This is a keeper". This recipe could feed four but the men wanted a little more than their one sandwich, so they split the last one.

Servings: 4 sandwiches

Prep time: 15 minutes

Cook time: 7 minutes

Ingredients:

1 10-oz. (12-inch) Italian bread shell (thin crust Boboli)Nonstick cooking spray
1 1/2 cups shredded Colby and Monterey Jack cheese (6 oz.)
1 cup cooked shredded chicken
2 Tbsp. barbecue sauce
6 slices packaged ready-to-serve cooked bacon
1 1/2 cups shredded lettuce
2 Tbsp. finely chopped sweet onion
1 Tbsp. bottled ranch salad dressing
1 medium tomato, sliced

Directions:

Preheat oven to 450 F. Place bread shell on baking sheet, bottom side up. Spray bread shell with nonstick cooking spray. With pizza cutter, cut bread in half. Sprinkle cheese over both halves of bread. Combine chicken and barbeque sauce. Top one bread half with chicken mixture and bacon slices.
Bake 7 to 9 minutes or until cheese is melted and bacon is crisp. Cool on baking sheet 2 minutes. Meanwhile, in small bowl combine lettuce, onion,
and ranch salad dressing.

To serve, cut each half into quarters to make 8 wedges. Spoon lettuce mixture on top each wedge with chicken. Top with tomato slice. Invert remaining wedges over toppings.


Hint: I used chicken that I had cooked another day, so it came out of my fridge. When I cooked it in the oven, the chicken side had not warmed up as much as I would have liked, but the cheese was melted and getting toasty, so it had to come out. Next time I will put the chicken mixture in the microwave for a minute to "warm" it before putting it on the bread and baking it.


Beef Barley Noodle Soup


At least once a week I attend the free cooking classes that are offered at our local grocery store (Macey's). I have so many great recipes from there. Two of my favorite people to see are the director and assistant director. They teach a class every so often, and their recipes are always good. This soup was presented by the assistant director. It is easy, hearty and tasty. Great served with rolls or crusty bread.


Ingredients:

8-10 cups water
6-8 cubes beef boullion
2 lbs. browned ground beef
12 oz. pkg wide egg noodles
1/2 cup dried onion (or 1 med. chopped up onion)
1/2 box of 11 oz. box Quick Barley
2-3 cups frozen mixed veggies
garlic salt
pepper
Worcestershire Sauce to taste

Directions:

Put browned/drained ground beef in soup pot. Put all the rest of ingredients in there also. Bring to boil for 15-20 minutes. Simmer for 20-30 minutes. Serve.

This is not very "soupy" by the time the noodles etc. cook. You could add more water if you prefer. This makes a lot of soup, so I will half it next time (which will still give us leftovers) You could add any veggies that you have. I used a bag that had carrots, green beans and peas.

Sunday, January 17, 2010

Hearty Casserole

{I'm not quite sure where my mother stumbled across this recipe, but she made it once before I left home. Since then, I'm not sure she has made it, but I fell in love with it and will get random cravings for its delicious flavors. Making it is super easy and you will feed and fill quite a few (as the name suggests)! Sorry, I don't have a picture... but I hope you enjoy!}


{ingredients}
1 lb. ground beef
1/2 c. onion- chopped{i never measure onion, i just look to see if its as much as i would like...}
3/4c. milk
8 oz. (1 pkg) cream cheese {you can soften it a little by putting it foil wrap and all on the rack in your oven as you preheat it. leave it in there for about a minute}
1 can cream of mushroom soup
1/2 c. green pepper- chopped
8 oz (4 c.) noodles- cooked
1 1/2 tsp. salt
1 can corn- drained

{directions}
1. Brown meat
2. Add Onion and cook until tender.
3. Stir in milk and cream cheese until blended.
4. Add remaining ingredients
5. Pour into 2 quart casserole dish.{i fit it into a 1.5 quart dish but it was a little... overflowing}
6. Bake @ 350 for 30 minutes

{we use just a little green pepper cut very small. it really adds flavor but we don't really like big chunks}

Saturday, January 2, 2010

Chicken Spaghetti

Don't be too shocked that I am finally posting. It was time to try out my Christmas present from my son, a new cookbook, "The Pioneer Woman Cooks". If you haven't visited her web site, it is a must. This cookbook is fun because it has step by step pictures and instructions. This recipe is similar to one that I have in my recipe file, except that this one actually has some taste. The three teenage boys I fed, ate more than one helping.

Chicken Spaghetti

1 cut up chicken (I used a rotisserie chicken from Costco, but you could use any cooked chicken)
1 pound thin spaghetti, broken into 2 inch pieces
4 oz. jar diced pimientos, drained (I didn't use these)
1 small onion
1/4 c. finely diced green pepper
2 cans cream of mushroom soup (I used cream of chicken because that is what was closest)
2 1/2 cups grated cheddar cheese
1 tsp. seasoned salt (I used Lawry's)
freshly ground black pepper
1/8-1/4 tsp. cayenne pepper - to taste
2 c. chicken broth

Preheat oven to 350. Cover chicken with water and simmer until chicken is cooked. Remove from water and set aside to cool. Save 2 cups of the chicken broth for later. Cook spaghetti al dente. Drain the spaghetti. Remove chicken from bones or if you used boneless chicken, cut it into bite sized pieces. Finely dice the onion and green pepper. Place the cooked spaghetti into a large bowl. Add the cream of mushroom soup. Add two cups of the cheddar cheese. Next add the onion, green pepper and pimiento. Add the seasoned salt, black pepper and cayenne pepper. (I went light on the cayenne pepper - just a sprinkle - and wish I had tried more)
Finally, add the chicken and broth. Stir together well and check for seasonings. Pour into a large baking pan, and top with the remaining cheddar cheese. Bake for 35-45 minutes, until bubbly.

I actually added the remaining cheddar cheese about 5 minutes before I took it out of the oven. I just wanted it melty and not hard.

I'm not much of a green pepper eater, but I like the flavor it adds. I like mine diced really small. I have a friend that cuts hers really big so that it can be picked out by anyone that doesn't want it. Peppers freeze really well. I take the pepper I don't use and cut into julienne strips. Then I put it in a small ziploc bag in the freezer. I have some green and red in my freezer right now. I will sometimes buy them when they are on sale and freeze them right away so that I have them when I need them.

Thursday, December 17, 2009

Chicken Cordon Bleu

{yes I'm trying to make them from scratch and yes, you should be impressed... We'll see how these turn out! I found this recipe one night as I was flipping through my "The I Do Cookbook for the Bride and Groom" I got for my wedding... What's life if you don't try a few new things once in a while right?! Right. So here goes... easily the most complicated recipe I've tried yet (not to worry, its fairly simple) The prep time for this was about 20 minutes and I didn't make it the night before... just 4 or 5 hours before I needed it to be done. I was really surprised at how simple it was...}

{No, I these are not mine... this is what they're supposed to look like}


{Not too shabby if I do say so myself...}

{ingredients}
4 boneless chicken breast halves {i just ended up using two breasts and cut them in half the long way}
1/4 c. seasoned bread crumbs {i ended up using a little more than that, eyeball it and go with it}
1/4 c. grated Parmesan cheese {i'm not quite sure how much i liked the grated... it didn't stick very well to the chicken... next time i might try the cheap powdery stuff...}
4 thin slices of ham {just bough my husband some lunch meat and used that}
4 strips of white cheese (1/2 " thick and 1 " long) {I used about 1 1/4 string cheese stick cut into four pieces}
1/2 c. butter-melted {i used about 6 tbsp. so not quite a 1/2 c.}

{directions}
1. Line a 9 x 13 baking pan with foil
2. Place chicken breasts, one at a time, between two sheets of wax paper or in a plastic food bag {i used a gallon Ziploc}. Gently pound with flat side of a meat tenderizer until each is about 1/4" thick. {i didn't have a meat tenderizer so i used my smooth potato masher... worked well enough}
3. Combine bread crumbs and Parmesan cheese. Set aside {i put them in a shallow Tupperware container. it made it easier to dip into}
4. On Each flattened chicken breast, lay a slice of thin ham. {seriously, all you need is one, even if it doesn't cover your chicken all the way.}
5. place a strip of cheese on top of ham at the end nearest you. {i found that the end easiest to curl first was the wider and roll into the thinner end} Fold edge of chicken breast over cheese, fold in sides and roll up to enclose the ham and cheese as tightly as possible. {honestly, all i did was roll it to the best of my knowledge... and stuck a bunch of toothpicks through it to keep it from falling apart}

*note: when using toothpicks and raw chicken, you will want to pick out the toothpicks before you touch the raw meat... then you keep your box of toothpicks clean.*

6. Dip each rolled chicken breast in melted butter and roll in bread crumb mixture until evenly coated.
7. Place, seam down on prepared pan. Drizzle with remaining melted butter. Cover and refrigerate for at least 4 hours or until the next day.
8. Preheat oven to 425
9. Bake uncovered for 25 minutes or until chicken is no longer pink when lightly slashed.

{serve with Mornay Sauce} {Serves 4}

{This dish freezes well. Increase baking time about 15 minutes if frozen}